Activity #1: Create and edit a basic page
Welcome to Activity #1! During this activity, you will be completing part of the Goldy Gopher basic page - final version using information from the Goldy Gopher basic page - before version and the Documents and Files for Training.
Create the basic page
You can use the "How to Create a Basic Page" module on Canvas to guide this process.
- Navigate to your Site Management.
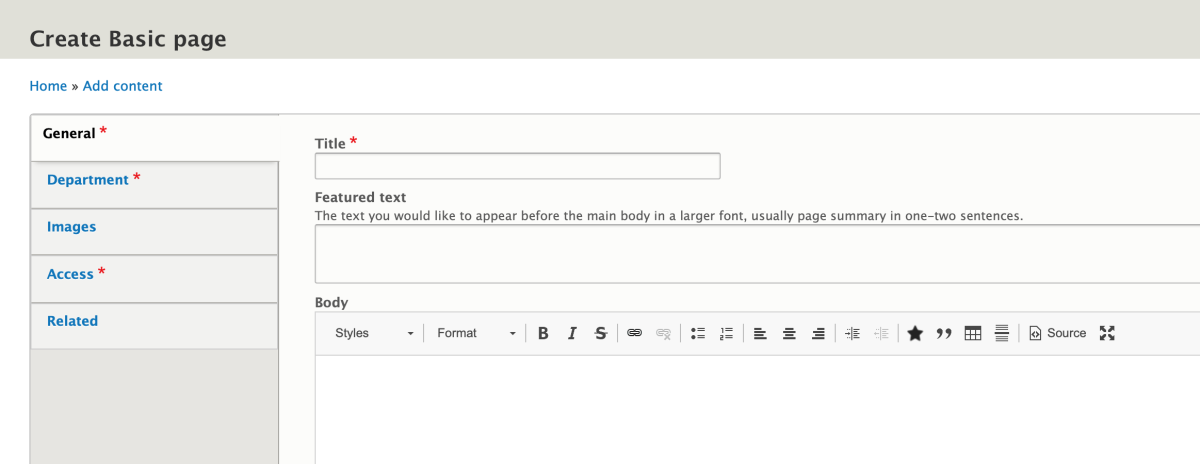
- Under the Content heading, select "Create basic page."
- Copy the designated Title and Featured text from the Goldy Gopher basic page - before version and paste into the corresponding fields.
- Select the appropriate Department and Category in the Department tab. Categories will organize your pages and create an automatic "More About" sidebar on each basic page. To learn more about categories, watch the "Categories" module on Canvas.
- In the Access tab, select private (select public if making a page you want to publish on a live site).
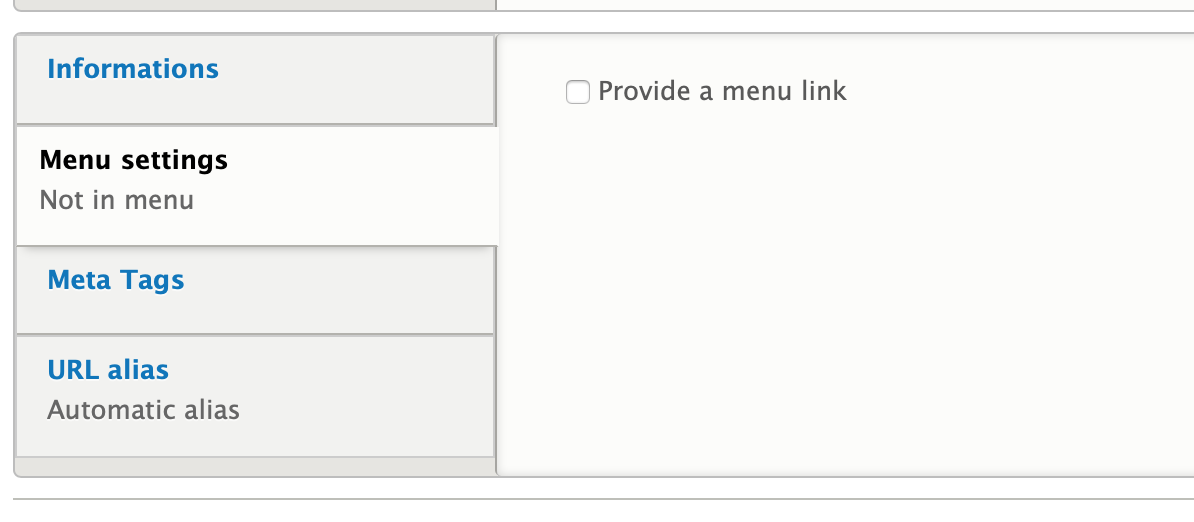
Note: We won't be doing this for the Goldy training page, but if you want to have your page appear on the top menu or under a drop-down menu, navigate to the "Menu Settings" tab at the bottom of the editing page and fill out the corresponding fields. Visit the Drupal Extras webpage to learn more about creating navigation.
Add headings and body text
You can use the "Edit Basic Page" module on Canvas to guide this process.
- Navigate to the General tab on the left-hand side of the editing screen.
- Copy and paste the rest of the text from the Goldy Gopher basic page - before version into the body field.
- Highlight the first designated heading (The origin of our golden mascot).
- From the "Format" drop-down menu, select Heading 2.
- Repeat this process with the rest of the designated headings, selecting Heading 3 for the years under the "Goldy through the years" heading.
- Click Save at the bottom of the page.
Add bullet points
- Navigate to the Edit page.
- Select the text between Bullet points and Related content.
- Click on the "Insert/Remove Bulleted List" button in the toolbar (to the left of the text alignment buttons).
- Click Save at the bottom of the page.
Congratulations! You've completed Activity #1. Learn how to add photos and videos in Activity #2.