Activity #4: Create and edit an advanced page
Welcome to Activity #4! During this activity, you will be making the Goldy Gopher advanced page - final version using text from the Goldy Gopher advanced page - before version and photos from the Documents and Files for Training Google Drive folder.
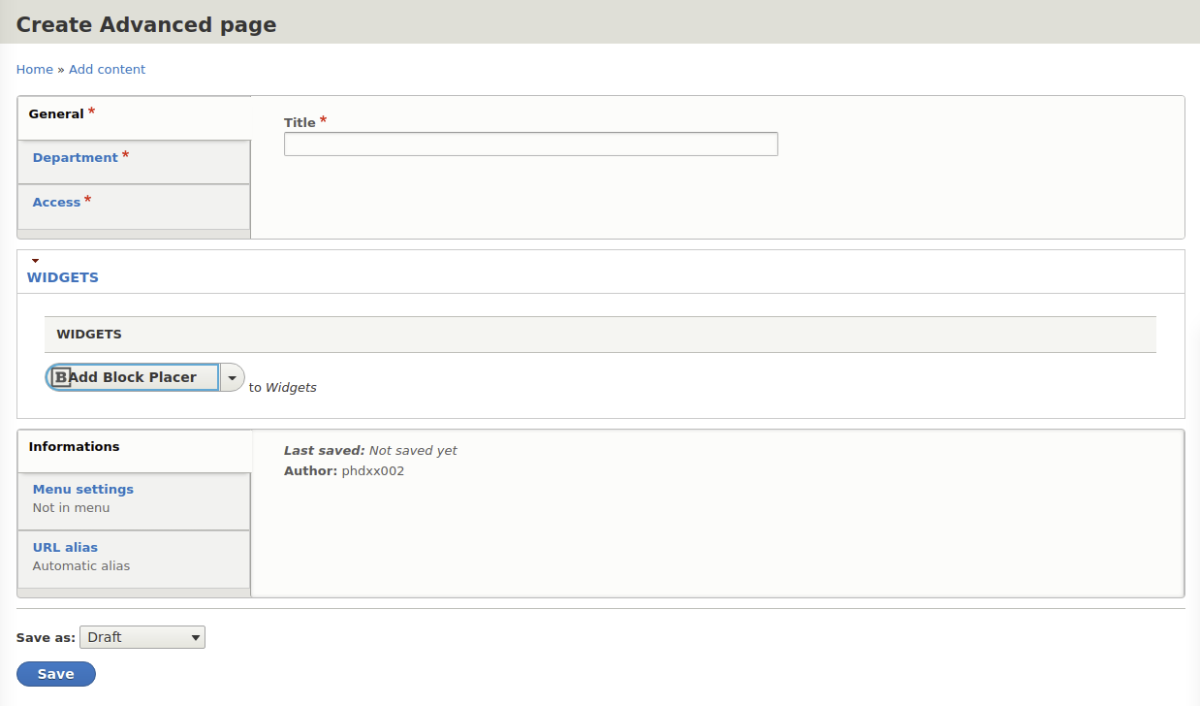
Create the advanced page
- Navigate to your Site Management.
- Under the Content heading, select "Create an advanced page."
- Copy the designated Title text from the Goldy Gopher advanced page - before version and paste into the Title field.
- Select the appropriate Department and Category in the Department tab.
- In the Access tab, select private (select public if making a page you want to publish on a live site).
Note: We won't be doing this for the Goldy training page, but if you want to have your page appear on the top menu or under a drop-down menu, navigate to the "Menu Settings" tab at the bottom of the editing page and fill out the corresponding fields.
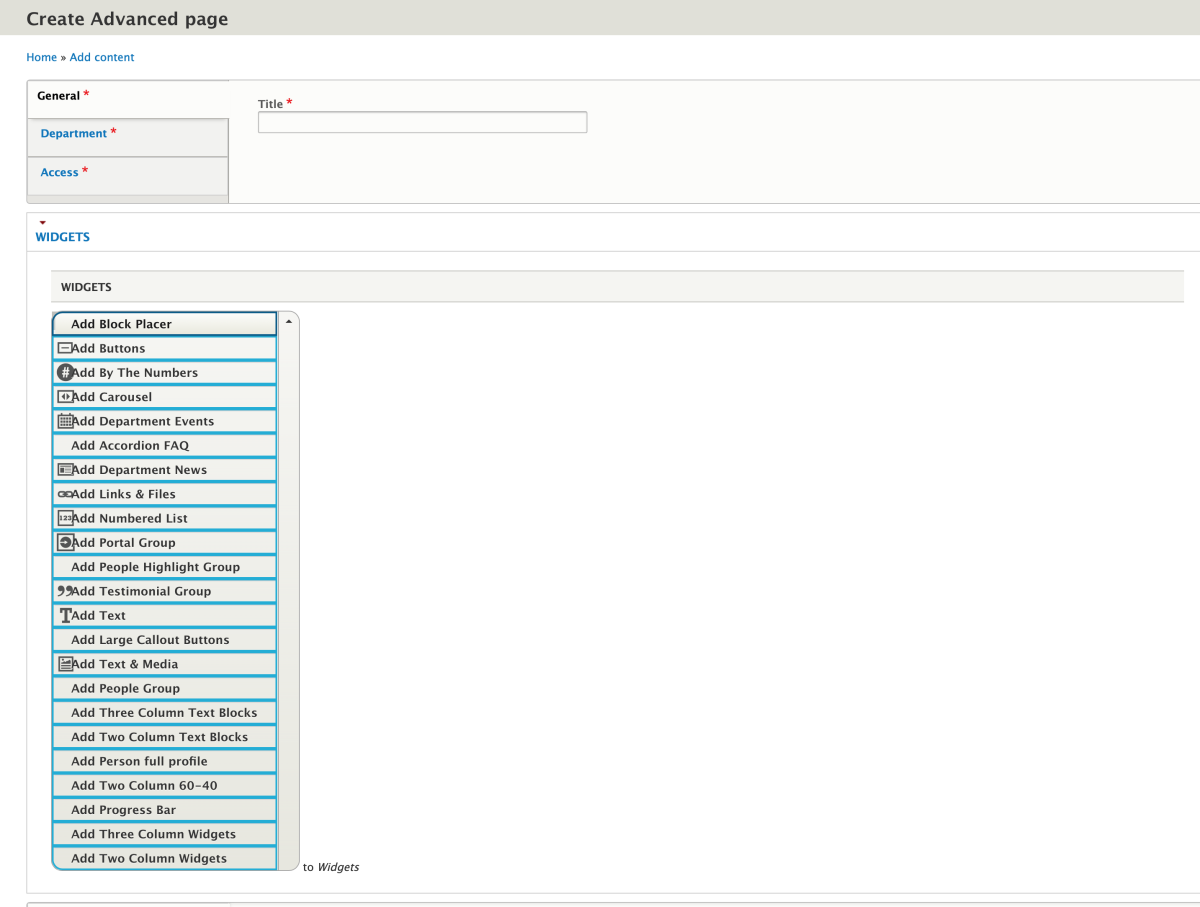
Add a carousel image
- Under the widgets tab, click the drop-down menu and select the "Add Carousel" option. (Note: The Carousel widget can be used to make a slideshow of images, but in this case, we're just using one image.)
- Select "Add Slide." (Note: Normally, you can give the widget a title and add text before the image or images, but in this case, we're leaving those fields blank.)
- Scroll to the Image field and click "Select Media."
- Find the Goldy2019.jpg image in your media library by searching for its name—this should already be uploaded if you have completed the activities for making a basic page.
- Select the image and click "Place" at the bottom of the pop-up window.
- Click Save at the bottom of the edit page.
Add text
- Navigate to the edit page.
- Under the widgets tab, click the drop-down menu and select the "Add text" option.
- Copy the designated Text from the Goldy Gopher advanced page - before version and paste into the text field.
- Highlight the text, and select the align "Center" button on the toolbar.
- Click Save at the bottom of the edit page.
Congratulations! You've completed Activity #4. Learn how to add buttons and text with images in Activity #5.