Unit Configuration
The Unit Configuration page allows you to edit different aspects of your website, including the unit header at the top of your site, and information in the footer at the bottom of your site. See below for examples of both a unit header and footer.
Header settings
Unit header

The Unit Header is the colored banner that goes across the top of your website and displays your department or unit's name. It also displays your Parent Unit, which in most cases will be the College of Science and Engineering. You can change the color by choosing from the Unit Header Background drop-down menu.
Header Button
You may also add a header button, which will appear in the top right corner of your website's header. Simply add the URL and type the text you want to use in the Link text field.
Footer settings

Contact info
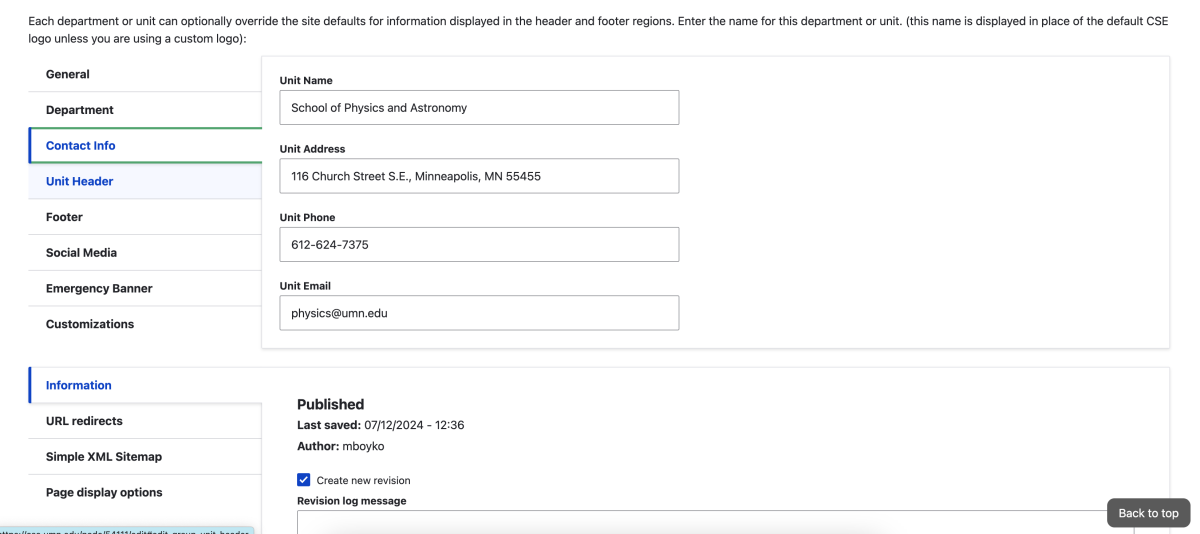
The information in the Contact Info tab appears on the left side of your unit footer. It includes your department or unit name, address, phone number, and main email address.
Footer
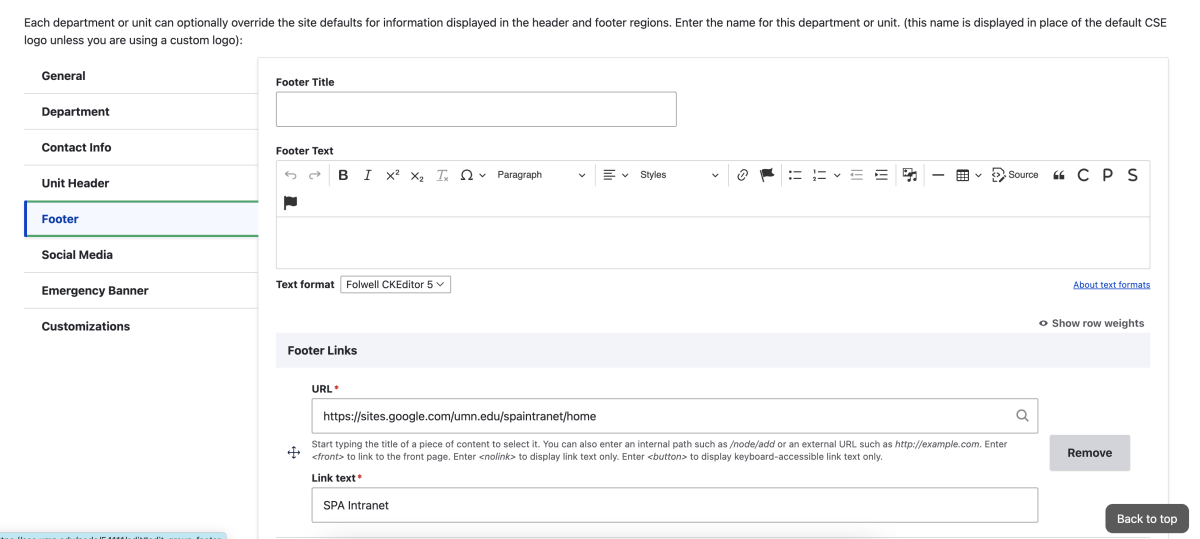
The Footer edit tab allows you to add text and links to your footer. The footer title and Footer Text appear below the contact information. Add Footer Links by typing link text and URLs in the corresponding boxes.
Social media
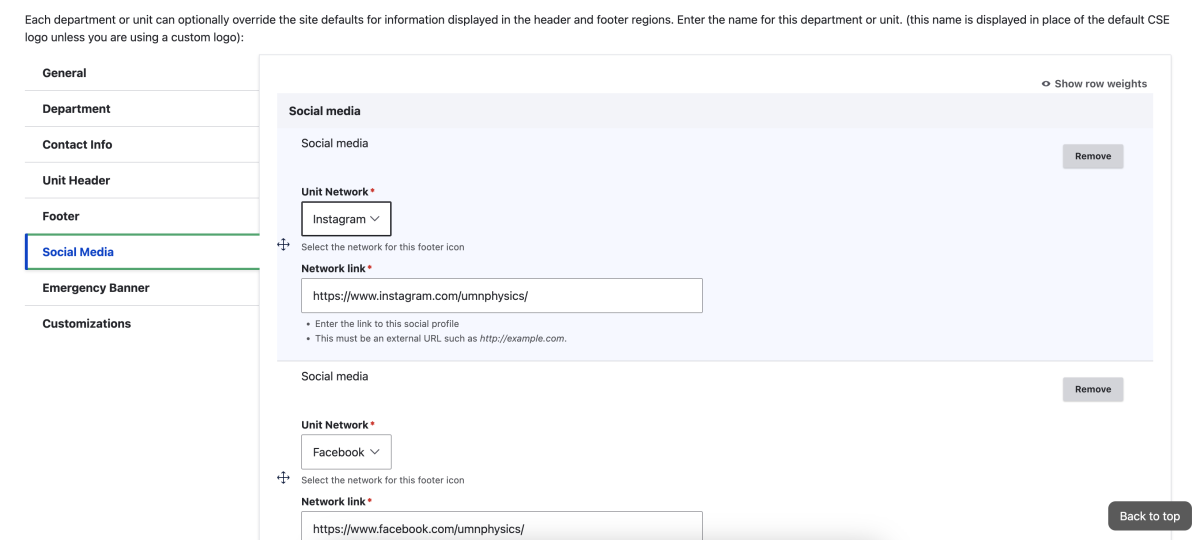
The Social Media edit tab allows you to add social media icons and links to the right side of your footer. By clicking the Add Social media button, you can choose a social media network from the Unit Network drop-down menu and add a link to your department or unit's corresponding social media page.
How to reorder social media icons
- Click and hold the compass points icon for the social media icon link you want to move.
- Drag the social media icon link to the position you want. The top social media link in the list will be the leftmost icon in the footer, and the bottom social media link in the list will be the rightmost icon in the footer.
Emergency Banner
You can add an emergency banner that will appear above the navigation links on your unit's pages. These should be used sparingly as they are disruptive to the site experience. Example use cases include closure due to inclement weather or a physical safety emergency.
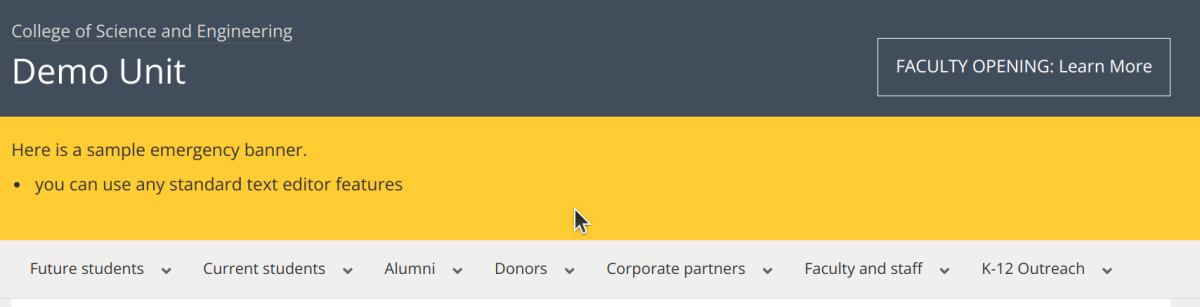
You can select either maroon or gold (default) as the background color for this alert.

When making a change to this alert, please contact [email protected] to request a cache refresh.
Other settings
General
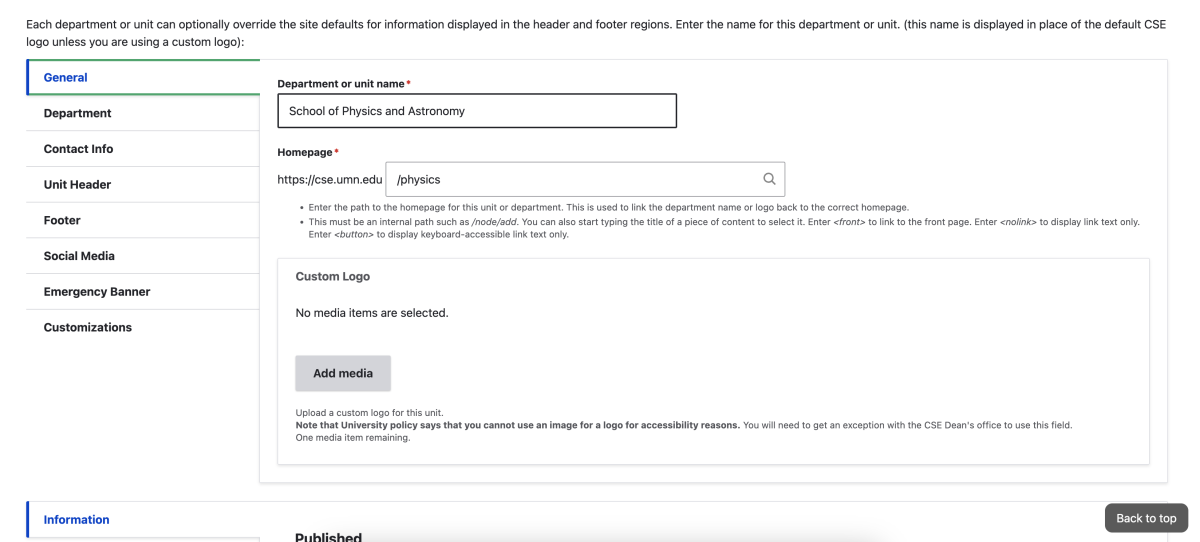
The General edit tab contains your department or unit's name, the URL path for your homepage. Both the unit name and URL are determined when your site is created. Email [email protected] if the department or unit’s name needs to be fixed. The URL cannot be changed.
Department
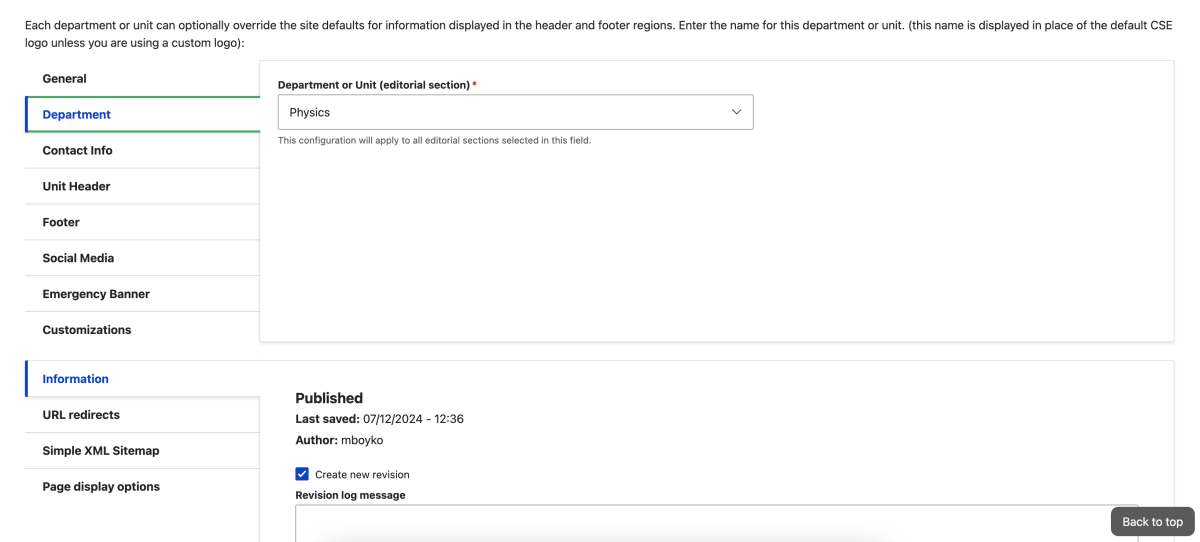
The Department edit tab lists the editorial section to which your website will correspond. This information is also determined when your website is created and cannot be changed.
Customizations
The Customizations tab provides miscellaneous options:
- Display publish date
Check this box to display the publish date on all News and Feature Story pages. - Person Tab Order
Determines the order of tabs on person pages. Choose between Research first and Biography first.